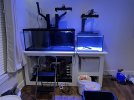
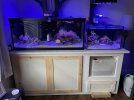
I’ve been working on this project for a couple months, so I thought I’d catch everyone up!
One of my good friends had to move hundreds of miles for work, so to simplify the process he decided to get rid of his saltwater aquarium. He was sad to see the fish go, and was worried that, if he gave everything to his not-so-stellar LFS, they would die. He lacked the connections that we have in our club to sell aquarium livestock and gear as quickly as he needed, so it was a dilemma.
I’ve always loved his fish, and would also be very sad to see them go, so I came up with a plan to add a new tank into my existing system that would give his fish their own space, while not disturbing mine (all of the fish he had were duplicates of the types in my tank, so there would be blood )
)
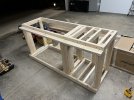
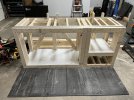
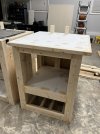
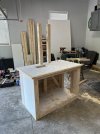
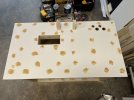
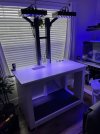
I began designing a two-part stand that would allow the tanks to sit side-by-side and have them bolt together, just so it’s easier whenever I move them in the future.
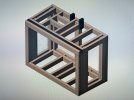
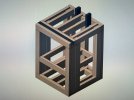
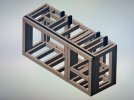
I used 2x2” steel pipe as horizontal reinforcement across the front because I wanted it completely open, with no center support. It worked out extremely well and I’d recommend it to anyone.
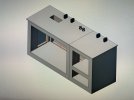
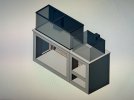
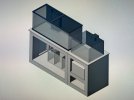
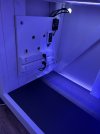
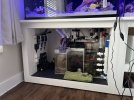
I had a few good ideas while designing this stand that I’m pretty proud of. One being the idea to use an RV water tank as an ATO reservoir (you can see it on the shelf of the small stand in the last picture). I was able to find a 20 gallon one that fits perfectly in the space that I had available, for $80. It’s a potable plastic box, and it came with no holes so I was able to plumb it however I felt. It was an extremely cost effective way to get around buying an acrylic 10 gallon for over double the cost (4x the price per gallon).
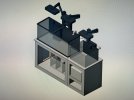
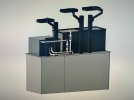
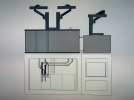
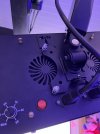
another great idea that I came up with (or at least I haven’t seen it before) is using monitor mounts as light stands! I found some for $20 a piece that I slightly modified to be able to point straight down, and it’s insane how well these work. Fully adjustable in all directions, rated to handle double the weight, and they look clean. I drilled the vesa mounting holes into my black boxes and they work perfectly!
I’ll post the assembly process next to break this thread up.
One of my good friends had to move hundreds of miles for work, so to simplify the process he decided to get rid of his saltwater aquarium. He was sad to see the fish go, and was worried that, if he gave everything to his not-so-stellar LFS, they would die. He lacked the connections that we have in our club to sell aquarium livestock and gear as quickly as he needed, so it was a dilemma.
I’ve always loved his fish, and would also be very sad to see them go, so I came up with a plan to add a new tank into my existing system that would give his fish their own space, while not disturbing mine (all of the fish he had were duplicates of the types in my tank, so there would be blood
I began designing a two-part stand that would allow the tanks to sit side-by-side and have them bolt together, just so it’s easier whenever I move them in the future.


I used 2x2” steel pipe as horizontal reinforcement across the front because I wanted it completely open, with no center support. It worked out extremely well and I’d recommend it to anyone.


I had a few good ideas while designing this stand that I’m pretty proud of. One being the idea to use an RV water tank as an ATO reservoir (you can see it on the shelf of the small stand in the last picture). I was able to find a 20 gallon one that fits perfectly in the space that I had available, for $80. It’s a potable plastic box, and it came with no holes so I was able to plumb it however I felt. It was an extremely cost effective way to get around buying an acrylic 10 gallon for over double the cost (4x the price per gallon).


another great idea that I came up with (or at least I haven’t seen it before) is using monitor mounts as light stands! I found some for $20 a piece that I slightly modified to be able to point straight down, and it’s insane how well these work. Fully adjustable in all directions, rated to handle double the weight, and they look clean. I drilled the vesa mounting holes into my black boxes and they work perfectly!
I’ll post the assembly process next to break this thread up.

