DIY E-Cabinet

Steve Burton

Vice President
Staff member
Supporting
Messages
1,556
Reaction score
2,191
Location
Lawrenceville/Lilburn
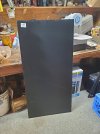
2×4 Chalk/DryErase board $8
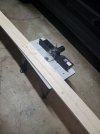
1×6×12' common board $12
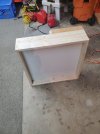
Hinges $4

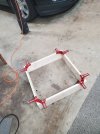
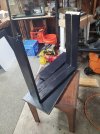
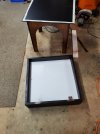
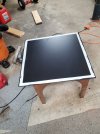
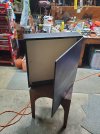
Not much room in the 60 cube stand so I decided to build a cabinet for the electrics.

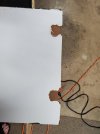
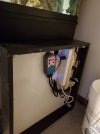
Cut 1/4" slot in 1×6 , 2 1/2" in back for cords and power bricks, and 2 3/4 in front.for controllers and power strips. Once paint dries on outer edges of door I can cut some holes and start mounting components.
 

Attachments

  • 20220802_092305.jpg
    20220802_092305.jpg
    196.4 KB · Views: 59
  • 20220802_092251.jpg
    20220802_092251.jpg
    146.2 KB · Views: 54
  • 20220802_095514.jpg
    20220802_095514.jpg
    199.1 KB · Views: 52
  • 20220802_104628.jpg
    20220802_104628.jpg
    203.2 KB · Views: 52
  • 20220802_110024.jpg
    20220802_110024.jpg
    258.4 KB · Views: 45
  • 20220803_164846.jpg
    20220803_164846.jpg
    198.4 KB · Views: 47
  • 20220803_163448.jpg
    20220803_163448.jpg
    234.9 KB · Views: 47
I ruined the door so had to buy a 2×2 sheet of 1/4" plywood, $9. Due to the thin-ness and not wanting screws to go through I super-glued the hinges, which would have worked fine except I knocked it off of the work table so the laminate it was glued to ripped away. New door installed, paint is drying now. Should start mounting components tomorrow.
 

Attachments

  • 20220808_181748.jpg
    20220808_181748.jpg
    110.5 KB · Views: 39
  • 20220811_122612.jpg
    20220811_122612.jpg
    189.2 KB · Views: 46
Back
Top